
How To Connect To Azure Compute Emulator Running On A Remote Computer
We came across an interesting issue at work today. My co-worker had a prototype of our ingestion service running inside azure compute emulator on his local machine. The Ingestion service hosts an websocket endpoint that the Xbox console clients needs to connect to for transmitting data.
Once he was done with testing, I wanted to test my set of changes without deploying the azure compute emulator on my machine.
However, we found that the compute emulator on my colleagues machine, running at his loopback address 127.0.0.1:81, could not be reached from my development machine even though we’re on the same network.
After trying a few things, we finally got around the problem by setting up port forwarding on his machine. The steps are documented below for reference.
Steps To Access the Azure Compute Emulator Remotely
STEP 1: Note down the Port the Ingestion service is running on the storage emulator.
In our case. It was 127.0.0.1:81. You can view this from the Windows System Tray by :
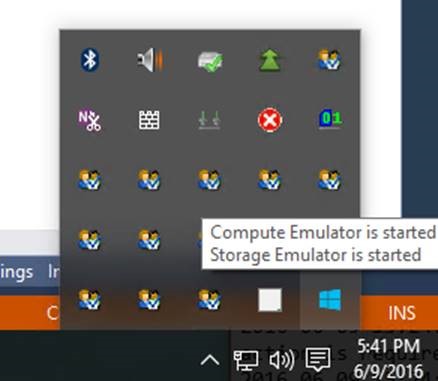
a. Right clickling on the Azure Emulator Icon as shown below and selecting “Show Compute Emulator UI”
b. In the Compute Emulator UI, navigate to “Service Details” for your deployed service under the Service Deployments section as shown below.

STEP 2: Create a tcp packet forwarding service from port 82 to port 81 on the machine running the compute Emulator.
Run the following command from an administrative command prompt.
netsh interface portproxy add v4tov4 listenport=82 connectaddress=127.0.0.1 connectport=81 protocol=tcp
What this’ll essentially do is receive all the traffic destined for port 82 on my colleagues’ machine and then forward them to port 81 where the azure compute emulator service is running. You can find additional details on the command here:
https://technet.microsoft.com/en-us/library/cc731068(v=ws.10).aspx
You can check your port forward settings using:
netsh interface portproxy show all
The result of running this command in our case is shown below:

STEP 3: [Optional] Create a firewall rule to allow incoming TCP traffic on port 82
Go to Control Panel -> System And Security -> Windows Firewall.
Select “Advanted Settings” and then create an inbound rule to allow all TCP traffic on port 82.
And that’s it – with these settings, I was able to establish a websocket connection on my Colleague’s IP address from my client program. You can use the same workaround if you’re deploying an azure web role and trying to test it in the azure compute emulator.
Hope this helps – Please leave a comment if you’re hitting any issues implementing the workaround above.